| Home Page | Refurb #1 | Refurb Customer Gallery | Updatemydynaco Store | Stereo 80 Refurb |
|---|
Why bother? It seems like a lot of work... Yes, it kind of is, but it's fun! Perhaps it's the same kind of joy and feeling of accomplishment that you get when you restore classic cars. Some like to stay completely original, while others like the classic look, but bolt hidden improvements to the chassis. Either way, you're creating something cleaner, brighter, better, or more harmonious than its predecessor, and that just feels good.
In these pages, we have pictures of a number of restorations of Stereo 120's based upon the Updatemydynaco amplifier modules. Some folks like to keep things more original, and retain the original filters. Others replace the caps. Still others have substituted isolated input jacks or super heat sinks. Send us pictures of your restorations...perhaps we can post them in these pages.
You can see a youtube slide show of a recent extreme tear down. Click on the links in the Quick Navigation at the top to see some of my other restorals, or the work of other Dynaco enthusiasts who used the Updatemydynaco kits.
Here's a link to a recent post on the Audio Karma forum. The poster had done a nice clean-up of some Marantz equipment. He was kind enough to give details about cleaning techniques.
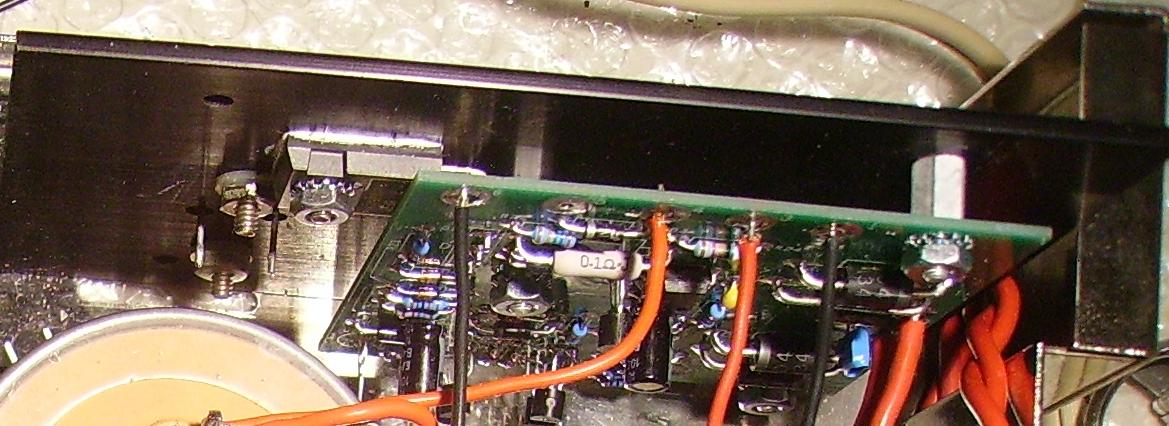
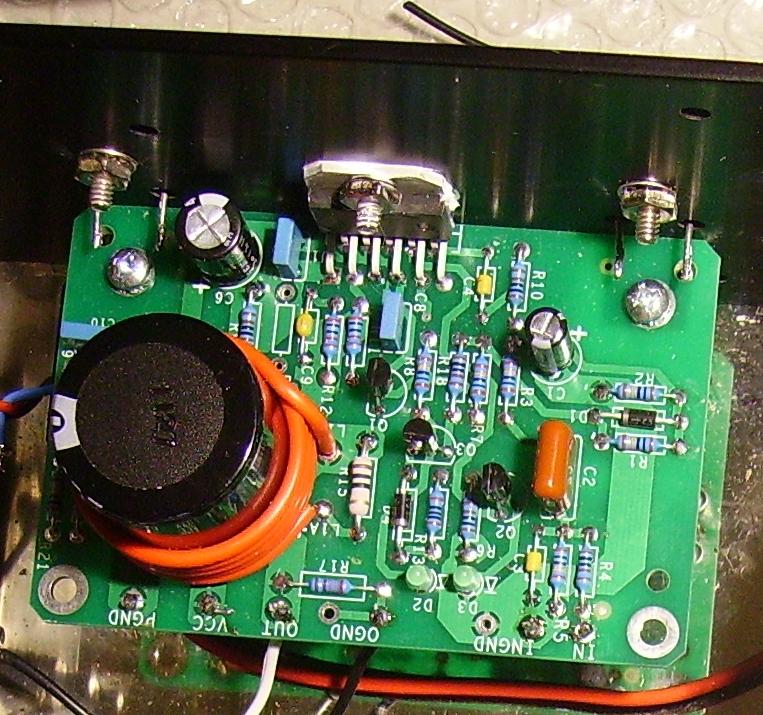
One of my customers is an architect. He loves the sound of his new updatemydynaco Stereo 120, but as an architect, he wanted to keep the look of the old TO-3 transistors. The TO-3 transistors aren't connected to anything, but the look of the original TO-3's is preserved from the outside. Here are some close-ups he sent that show how you might do this.