| Home Page | Refurbish Home Page | Refurbish Customer Gallery | Updatemydynaco Store |
|---|
The Stereo 120 was in pretty bad shape...a ratty power cord, caked dust inside, one channel kind of worked, the other was kind of dead. The power supply was OK, and the orange NE-2 light on the power switch had survived the years intact. The inside chrome plating was lightly pitted in places. I removed the amplifier modules, and started to clean up the chrome.
The refurbishment we show here includes some experiments that go beyond what is necessary, into what is possible. As such, it includes some modifications that are NOT PART of the upgrade kits. Specifically, the kits do not replace the input jacks, and the kits do not replace C9, C10, C11, or C12 in the power supply.
We removed all the components from the chassis to make it easy to clean without harming the electronics. The first layer of grime came up with dishwashing liquid and warm water. To deal with the pitting, I looked around the net and asked friends for recommendations. I found recommendations for:

If I do this again, I'd probably:
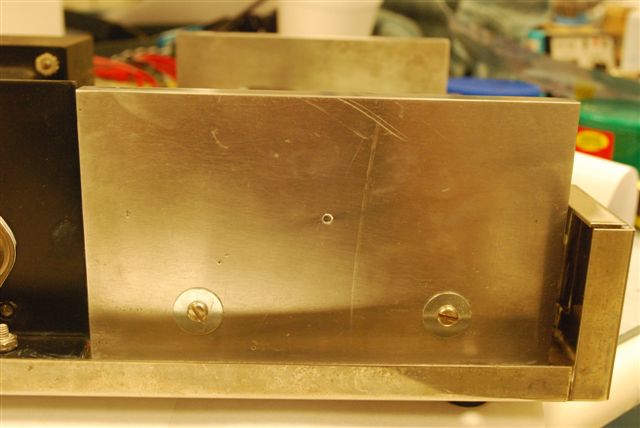
That would do a good job except for where the chrome is deeply pitted. In that case, re-chroming is probably called for, but that's more expense than I thought was sensible. Here's a picture of the area with the worst pitting after I cleaned it up as described above.
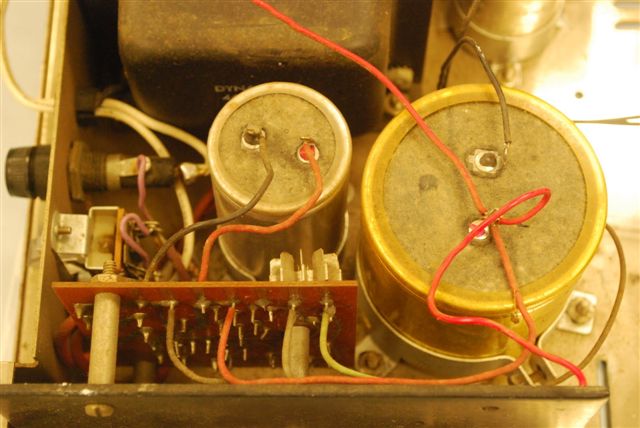
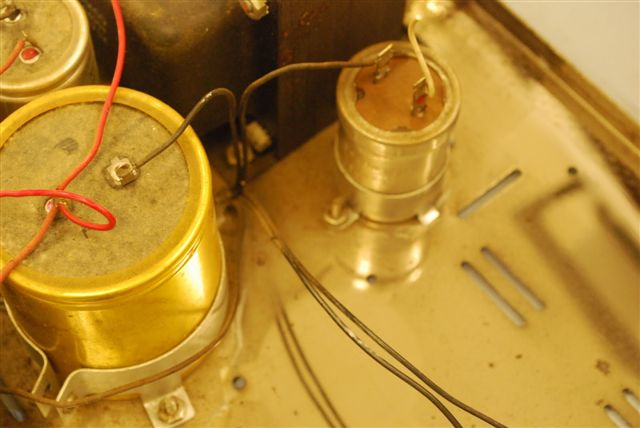
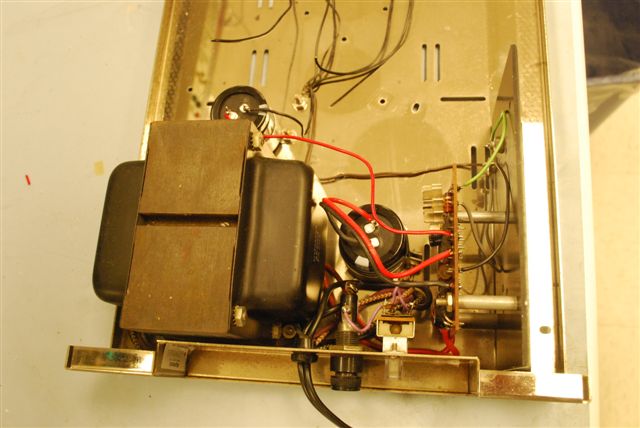
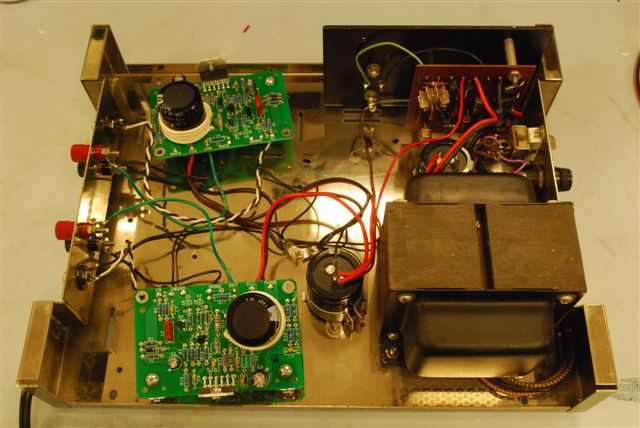
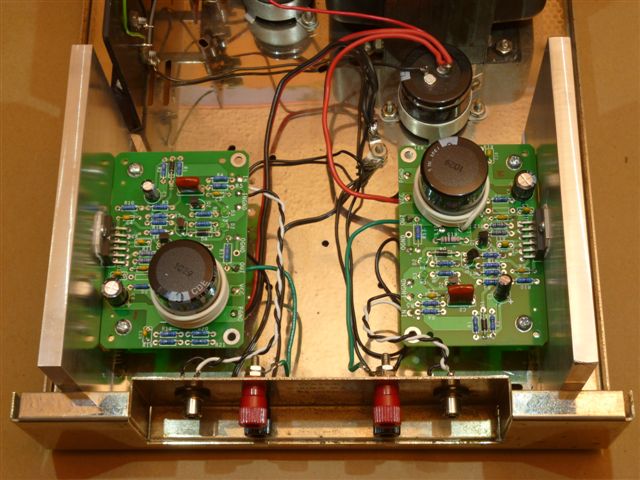
This next picture shows the chassis with the power supply reinstalled and cleaned up. You can see the rest of the inside of the chassis looks pretty good as a result of the cleaning. Note also that we replaced the power supply capacitors with fresh caps. We also replaced the line cord.
In the closeup, you can see the part of the chassis covered by the power supply cap for the last 40 years is quite shiny. The exposed part of the chassis looks pretty good after the cleaning, but isn't perfect.
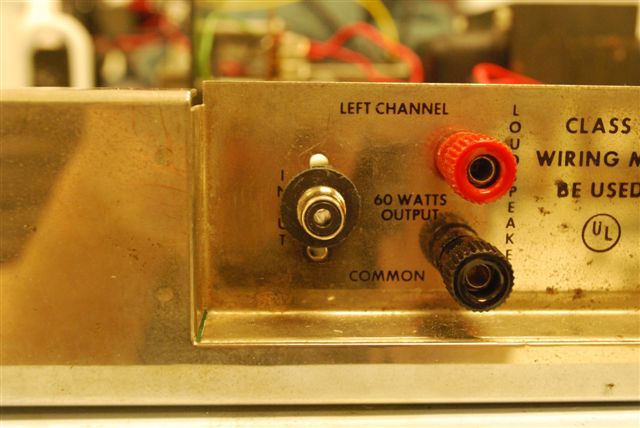
While everything was out of the chassis, I removed the original input jacks. This isn't easy on the amps where the jacks are riveted into the chassis. Working carefully with a 1/4" drill from the inside of the chassis, the indented side of the rivets, you can drill out the rivets without harming the chassis. This step is not strictly necessary, but it does let you avoid one potential ground loop. Doing this can lower the hum and noise in typical setups, pushing it down to extremely low levels. The new jacks are mounted on insulated shoulder washers, as shown in the figure below. The input jack modification is not necessary, and is NOT part of the upgrade kits.
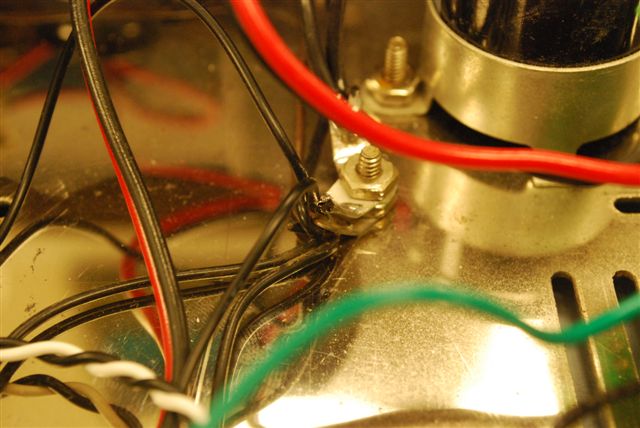
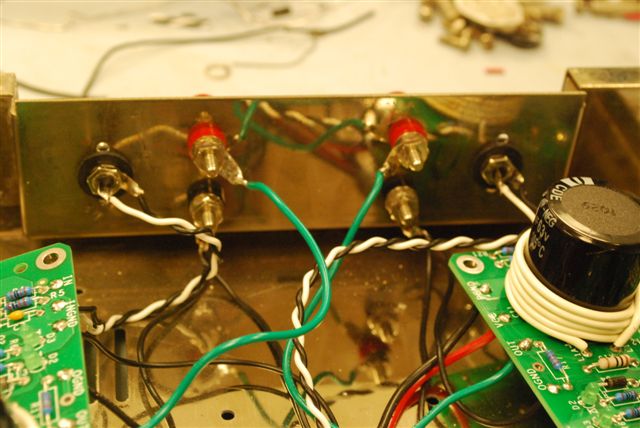
Next, I wired the new amplifier modules into place. Note the use of a couple more grounding lugs on the star ground to avoid ground loops and noise. I ran separate input and output grounds back to the star. I used twisted pairs for the input jacks. The wires are all a bit longer than they need to be, just to make things easier. I guess I could shorten them a bit, but there were no ill effects.

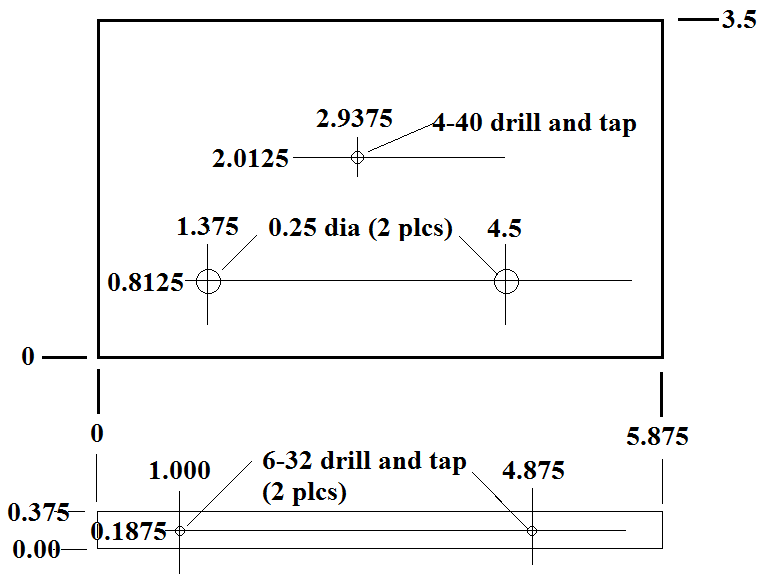
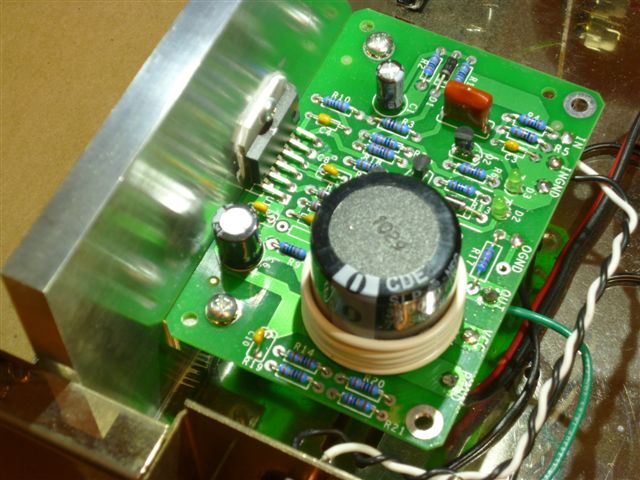
The most recent change in the design of the kit involves providing new heat sinks. The new heat sinks are made of 3/8" aluminum, drilled and tapped to easily mount the new amplifier modules. The new heat sinks are much thicker than the old ones, and allow the LM3886's to deliver more than 60 Watts into 8 Ohms, and more than 110 Watts into 4 Ohms. I've tested one channel at a time with 4-Ohm loads (to make sure that power supply capacity wouldn't be the limiting issue). I stopped the test after about 7 minutes, with the LM3886 tab temperature at 94 C. The amp channel under test put out more than 110 Watts into 4-Ohms with no ill effects, and no triggering of the protection circuits. Here's a drawing of the heatsinks.
All the electrolytic capacitors are new...those in the power supply, the power supply controller board, and the speaker coupling capacitors. With some luck, this will make the amp good for another 40 years. NOTE: In general, it is not necessary to change C9, C10, C11, or C12. The standard kits we offer for sale DO NOT replace these components.
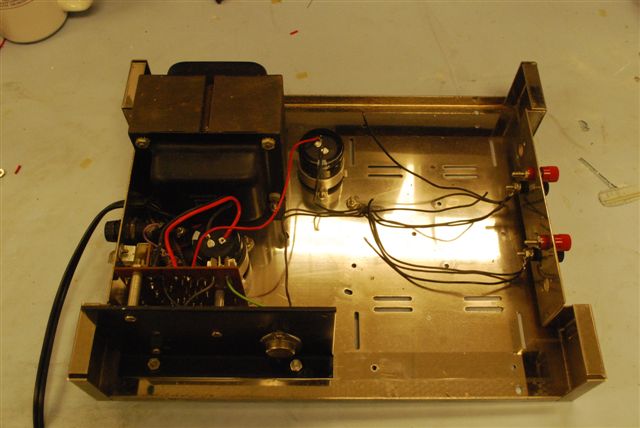
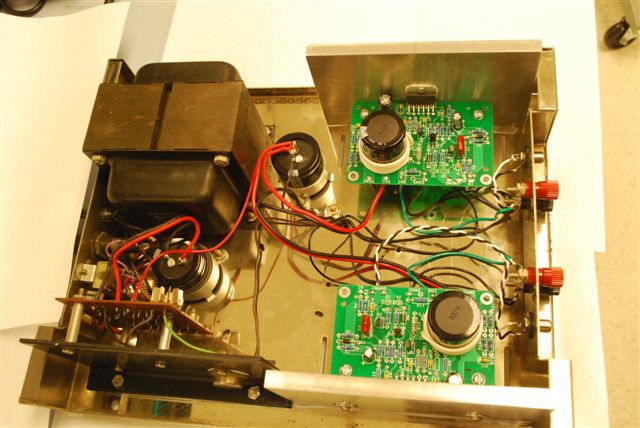
This next picture shows the amplifier modules installed on the heatsinks, and the heatsinks installed in the chassis. We used thermal compound between the LM3886 and the heatsink, and between the heatsinks and the chassis.

I'm still looking for an affordable source of re-chroming, or perhaps just more effective cleaners and polishes. The new heat sinks have three big advantages over recycling the old heat sinks:
The only downside is that these heat-sinks adds $20 to the cost to the kit.